- Flat 450 Off above 1999 | Flat 250 Off above 1399
- Flat 450 Off above 1999 | Flat 250 Off above 1399
- Flat 450 Off above 1999 | Flat 250 Off above 1399
- Flat 450 Off above 1999 | Flat 250 Off above 1399
- Flat 450 Off above 1999 | Flat 250 Off above 1399
- Flat 450 Off above 1999 | Flat 250 Off above 1399
- Flat 450 Off above 1999 | Flat 250 Off above 1399
- Flat 450 Off above 1999 | Flat 250 Off above 1399
- Flat 450 Off above 1999 | Flat 250 Off above 1399
- Flat 450 Off above 1999 | Flat 250 Off above 1399
- Flat 450 Off above 1999 | Flat 250 Off above 1399
- Flat 450 Off above 1999 | Flat 250 Off above 1399


A Beginner's Guide: How to Use a Corrector and Concealer
Kairavi Bharat Ram
After a wild night out, your mirror becomes your best friend as you try to figure out how to hide those "I didn't get enough sleep" dark circles. Or maybe you made the not-so-wise decision to pop that pimple, and now you're stuck with a fiery red mark on your chin that's practically screaming for attention (we've all been there, trust us). Don't worry, though! Concealer can help, but sometimes you need a little extra boost and that's where colour correctors come in to save the day.
In this beginner's guide to using corrector and concealer, we will give you all the tips and tricks on how to achieve that flawless finish. From choosing the right colour corrector for your skin concerns to applying it like a pro, we've got you covered.
Let's start with the basics
Here's what you should keep in mind: Start by choosing shades that address specific concerns.
Colour correcting is like having makeup with superpowers that can tackle those annoying skin discolourations. We're talking about dark circles, dark spots, redness, and even sallowness. Forget about those regular concealers that just hide stuff. Colour correctors are here to save the day by visibly neutralizing those unwanted tones.
But wait, here's the secret sauce: you don't slather them all over your face like regular makeup. Oh no, my friend! You apply them before your foundation and concealer, setting the stage for a flawless finish.
Colour Correcting Concealers Based on Concerns
Which colour corrector is to be used for what you ask? read ahead

Looking flawless starts with colour correction! Choosing the right colour to achieve an even base is easier when you use the colour wheel as a guide. Complementary colours, which are opposite to each other on the wheel, can cancel out specific issues. You will want to select a shade opposite to your concern, for example: green for redness or peach for dark circles. Apply a colour corrector that matches both your skin tone and the specific concern you wish to address.
Now, let's talk about which colour does what:
- If you've got redness on your face, like pimples or red acne scars, reach for a green corrector. It'll counteract that redness like a boss.
- To brighten up dull skin and bid adieu to yellow undertones, go for a purple colour corrector. It'll give your skin a major brightening boost.
- Grab an orange concealer if you've got deeper skin tones and want to tackle dark or hyperpigmentation or undereye dark circles. On lighter skin tones, a peach colour corrector works like magic for this purpose.
- Need to combat those pesky blue tones, like bruises, veins, under-eye circles, or blemishes with a purple hue? Say hello to the yellow corrector. It's your new BFF!
By strategically using these colour correctors, you can achieve a more balanced and even skin tone. It's like playing an artistic game of opposites! Exciting, right?
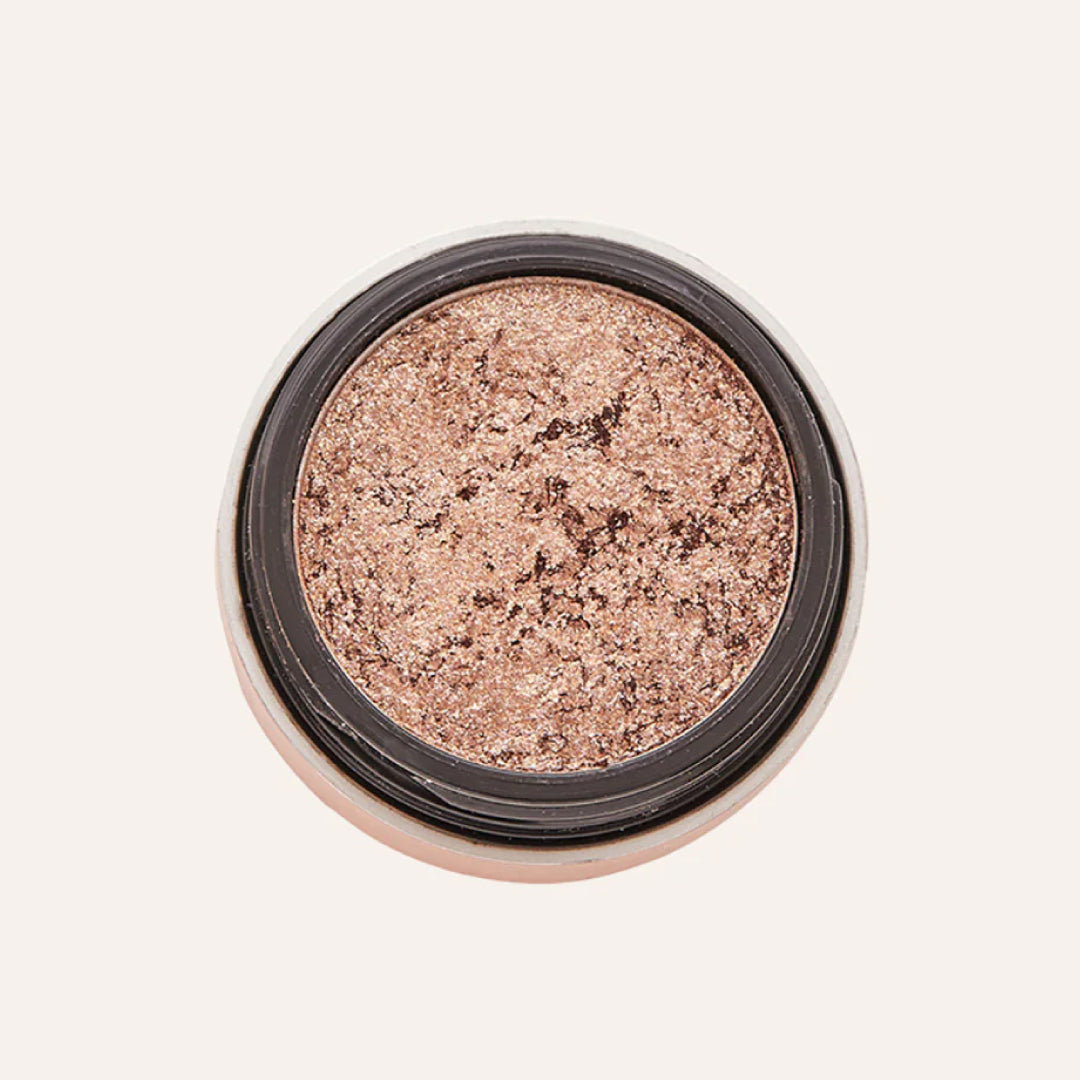
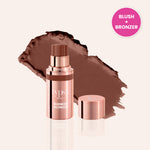
BY THE WAY, our hangover proof full coverage concealer also comes with colour-correcting features. Specifically for yellow undertones, our shades Baileys 04 and Whiskey 05 can be used to cover pigmentation. It’s your 2in1 solution for your colour-correcting and concealer needs (wink!). We also have an orange colour corrector - shade 01 Orange Corrector that can be used to cover pigmentations and dark circles.


How to colour correct?
Now that we've covered the basics, it's time to dive into the steps to become a color-correcting pro and achieve that flawless finish you've been dreaming of.
Step 1: Prime Party
Let's start by throwing a fabulous pre-party for your face with a makeup primer. It'll help your makeup stay put longer and work its magic on blurring those pesky pores and fine lines. Get ready to slay!
Step 2: Get Colourful
Once your primer is on point, it's time to apply your colour corrector(s). Then choose your magical colour-correcting wand (aka your fingers, a concealer brush, or a sponge) to blend out the colourful concealer. Remember, apply it where you need to combat discolouration. If there's still a hint of tint left after blending, don't worry! Your foundation and concealer will take care of the rest.
Step 3: Foundation Fiesta
Now, it's time to bring on the foundation. Choose your favourite foundation formula for the coverage you desire. It's your canvas for a flawless masterpiece!
Step 4: Concealer Charm
After applying foundation, let's add that extra boost with concealer. Apply it wherever you need that extra coverage. Pro Tip: On days when you're going for a minimal makeup look, you can use a colour corrector to neutralize discolourations and concealer. Just remember to blend it out for a seamless finish.
Step 5: Lock It In
To seal the deal and make sure your masterpiece stays intact, give your face a mist of setting spray. It's like the final touch of perfection!
Correcting Tips to Avoid Mistakes
- Match it Right: Pick the darker orange shade for a darker complexion and opt for peachy tones if you have lighter skin. Don't use a colour corrector that doesn't match your skin tone or complexion.
- Layer it Smooth: Start with a small amount of corrector and build it up with thin layers. Don't rush, girl! Blending is key, or it might seep through your concealer or foundation.
- You're Unique: Not every colour corrector is meant for you. Choose the one that tackles your specific skin concern!
- Target the Trouble: Apply the corrector only where you need it. Focus on that precise area, for example - if you're covering up pigmentation around your lips. No need to go all over, just focus on the spots and not the entire area.
- Bye-Bye, Buffing: Don't buff your concealer or foundation over the corrector. That'll just mess up the precise application you've worked on. Instead, grab a beauty blender and bounce it gently for a flawless, natural look.
It was literally that simple!
And there you have it, folks! A beginner's guide to using corrector and concealer. Don't be afraid to experiment with different colours and techniques to find what works best for you. Remember, the key is to use the right colour corrector for your specific concern, and then follow up with a concealer that matches your skin tone. So go ahead and add some colour to your makeup routine.
Buy skin-friendly makeup products at Typsy Beauty.